W7-Two-Way Serial Communication
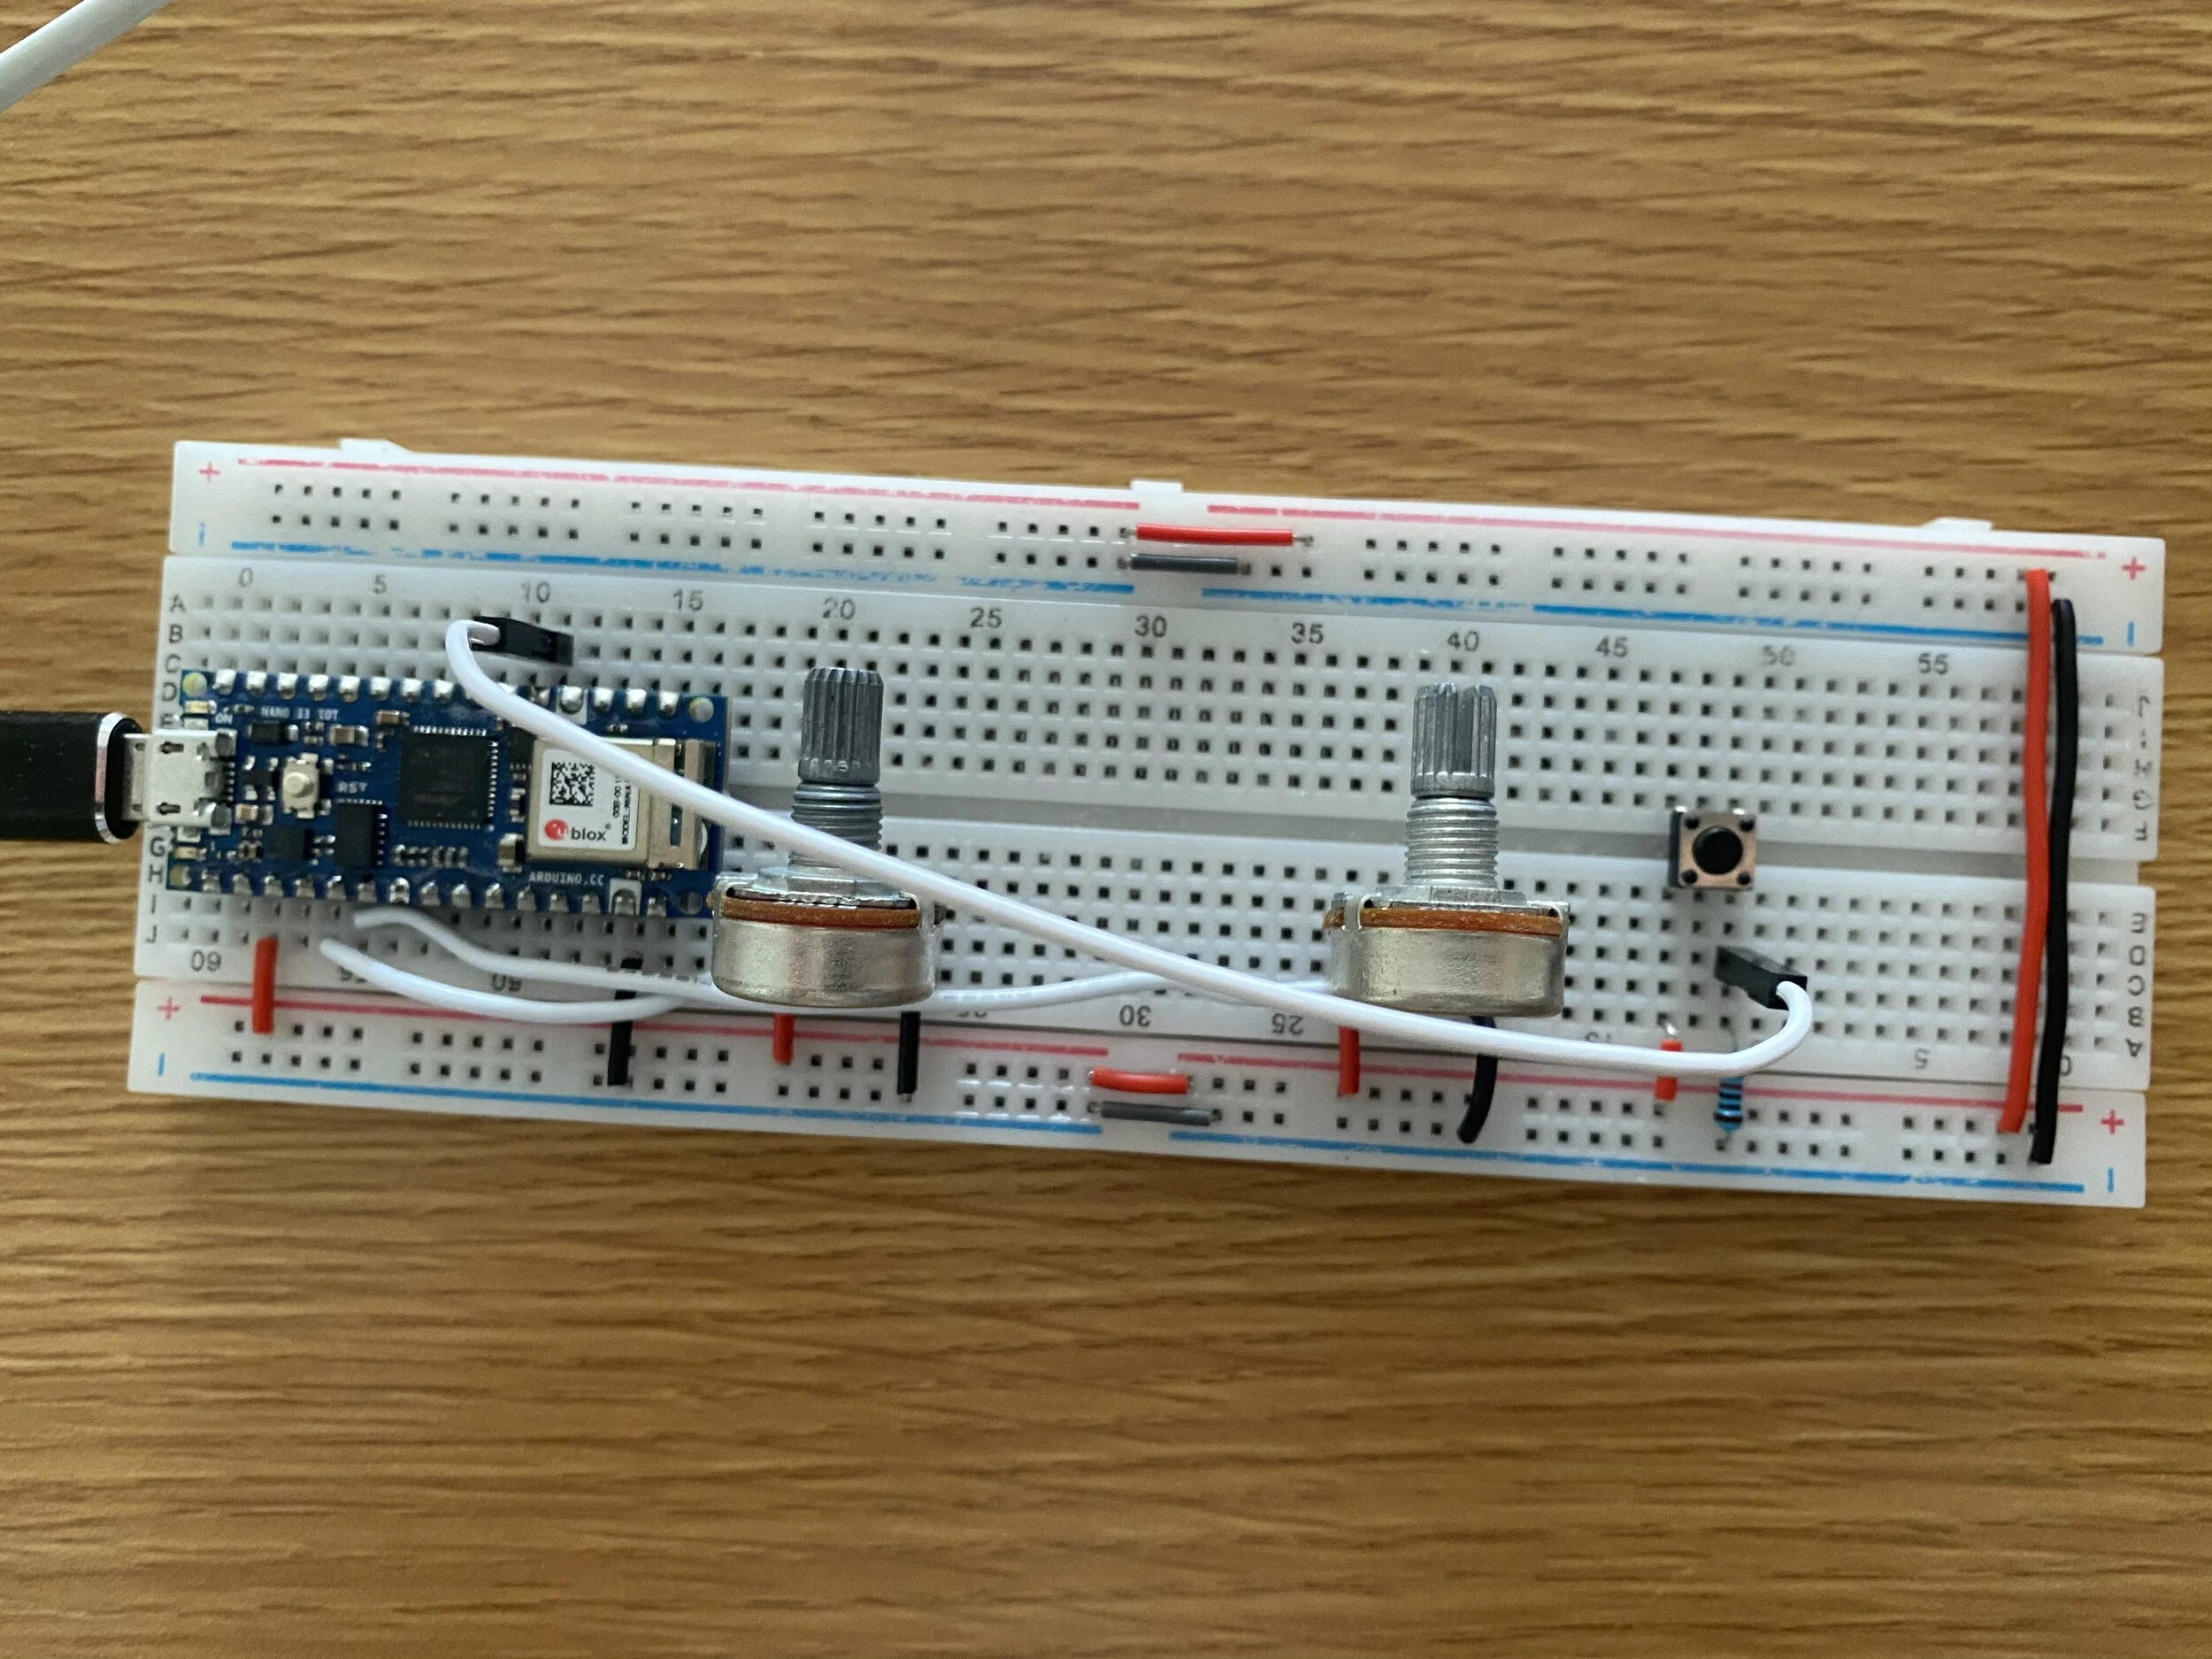
For this week's lab, I used two potentiometers instead of the accelerometer built in the Arduino. Since Danny has covered the handshaking method in the class, I just combined the two sections. I also modified the p5 sketch code slightly, so pressing the button will change the circle color to white. To repurpose these codes for a drawing tool, I removed the background color in the draw function. Here is the p5 code.
let serial; // variable to hold an instance of the serialport library
let portSelector; // a select menu for the port list
let locH = 0;
let locV = 0; // location of the circle
let circleColor = 0; // color of the circle
let circleSize = 0; // color of the circle

function setup() {
  createCanvas(640, 480); // make canvas
  smooth(); // antialias drawing lines
  serial = new p5.SerialPort(); // make a new instance of the serialport library
  serial.on("list", printList); // set a callback function for the serialport list event
  serial.on("connected", serverConnected); // callback for connecting to the server
  serial.on("open", portOpen); // callback for the port opening
  serial.on("data", serialEvent); // callback for when new data arrives
  serial.on("error", serialError); // callback for errors
  serial.on("close", portClose); // callback for the port closing

  serial.list();
}

function draw() {
  //background(0);               // black background
  fill(circleColor); // fill depends on the button
  noStroke();
  ellipse(locH, locV, circleSize); // draw the circle
}

function serialEvent() {
  // read a string from the serial port
  // until you get carriage return and newline:
  var inString = serial.readStringUntil("\r\n");

  //check to see that there's actually a string there:
  if (inString.length > 0) {
    if (inString !== "hello") {
      // if you get hello, ignore it
      var sensors = split(inString, ","); // split the string on the commas
      if (sensors.length > 2) {
        // if there are three elements
        locH = map(sensors[1], 0, 1023, 0, width); // element 0 is the locH
        locV = map(sensors[0], 0, 1023, 0, height); // element 1 is the locV
        circleColor = sensors[2] * 255; // element 2 is the button
        circleSize = 10 + sensors[2] * 20;
      }
    }
    serial.write("x"); // send a byte requesting more serial data
  }
}

// get the list of ports:
function printList(portList) {
  // make a select menu and position it:
  portSelector = createSelect();
  portSelector.position(10, 10);

  // portList is an array of serial port names
  for (var i = 0; i < portList.length; i++) {
    // Display the list the console:
    // console.log(i + " " + portList[i]);
    // add item to the select menu:
    portSelector.option(portList[i]);
  }
  // set a handler for when a port is selected from the menu:
  portSelector.changed(openPort);
}

function openPort() {
  var thisPort = portSelector.value();
  if (thisPort != null) {
    serial.open(thisPort);
  }
}

function serverConnected() {
  print("connected to server.");
}

function portOpen() {
  print("the serial port opened.");
}

function serialError(err) {
  print("Something went wrong with the serial port. " + err);
}

function portClose() {
  print("The serial port closed.");
}
Here is the result:
Project 2 Idea
For the next project, I have two ideas for now.
The first one is a balloon maker.
This project involves an air pump, a pressure sensor, an LED ( maybe a Neopixel ), and a white balloon. The white balloon with the LED and pressure sensor will be fixed on the air pump. The sensor reads the balloon's pressure, and the LED indicates how safe it is to keep on pumping by changing from green to yellow to red. The air pump starts working when the tip is pressed down. On the other end, I will make a p5 sketch, reads the balloon's pressure data, and draws a digital one equivalent to the physical one. When the air pump tip is released, the digital balloon will release to the sky simultaneously.
The question for this project is how sensitive the pressure sensor is. It might not be able to detect the tiny change of pressure in a balloon. Another problem is how easy it is to manage with the air pump.
The second idea is a font customizer.
Two joysticks will link with the Arduino. Each of them will control one attribute of a letter. The right joystick could control a font's weight by moving up and down and the width by moving left and right. The left joystick could tilt a font by moving left and right and change the height by moving up and down.


