W3-CAD models
Model1: Cat bowl
In the making of this cat bowl, I first extrude a tapered tube from a circle. I had to eyeball the taper angle because I didn't have a measurement. Then I cut into the shape and used fillet to create smooth rounded edges. After I had an overall body, I made the object's shell and applied fillet to the rest of the edges. Lastly, I sketched a rectangle around the bottom edge and used sweep to create an additional ring at the bottom.
Modle2: iPhone USB-C Charger
The iPhone charger's making was straightforward, but I had fun creating all the little details on the two metal pieces of the plug. I created a midplane to mirror the metal piece, making sure they are centered and identical.
Model3: Diffuser
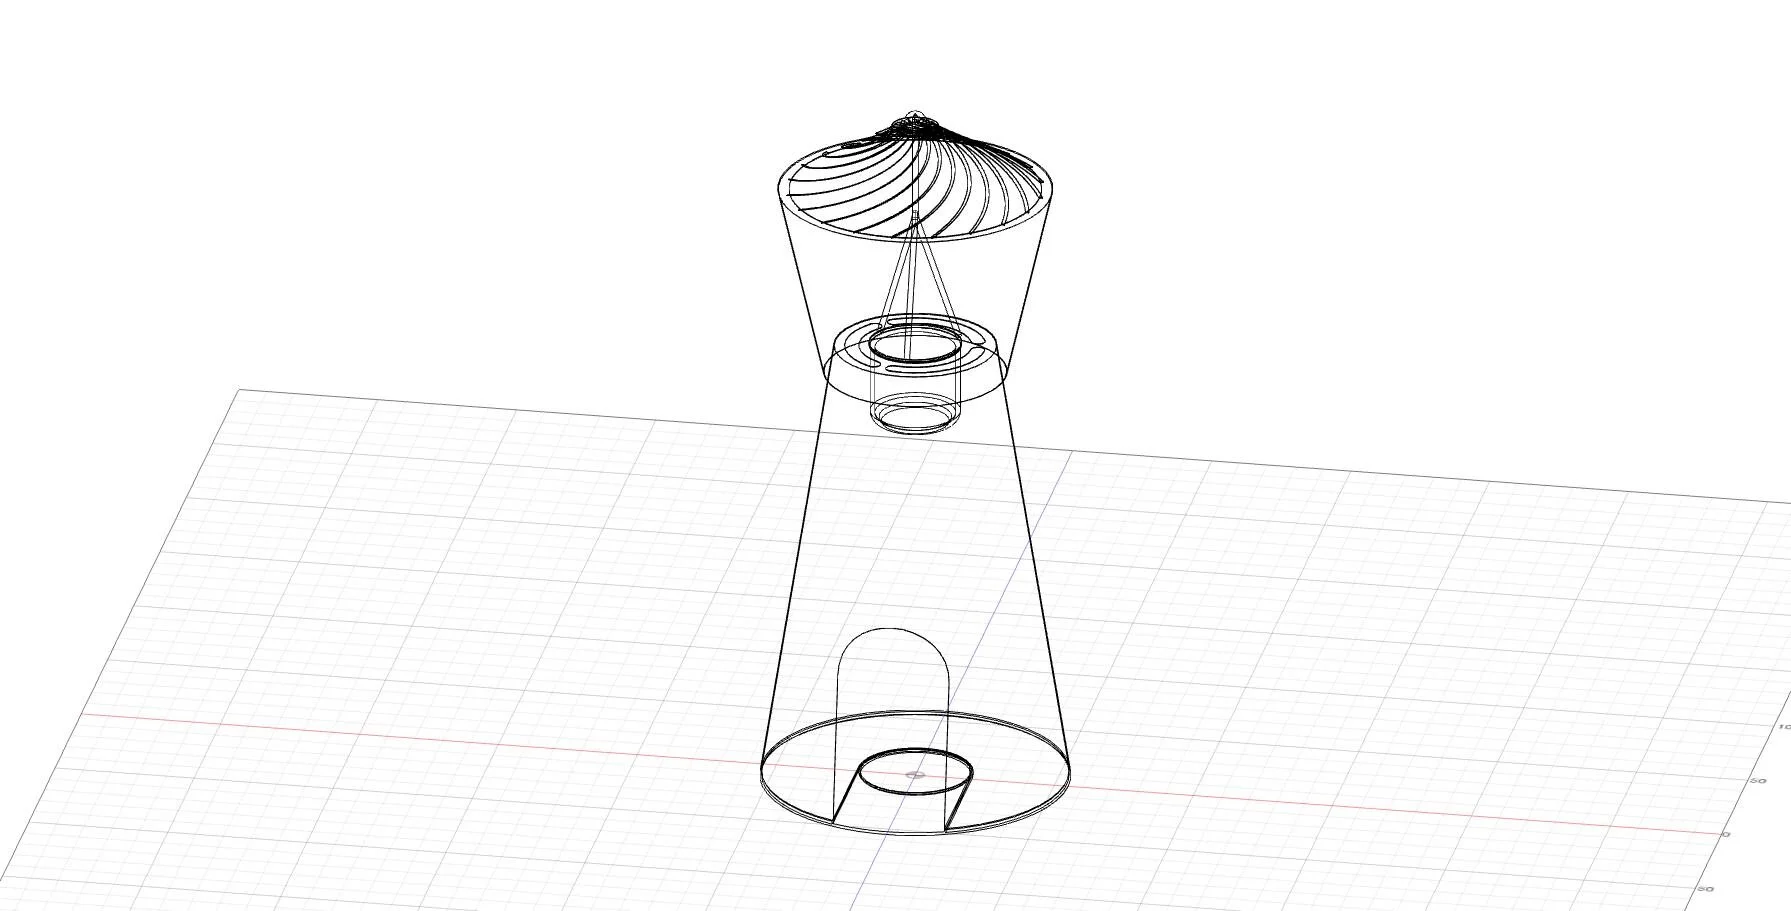
For the last object, I wanted to go for a little bit above and beyond. I recreated the diffuser turbine with three moving parts and spiral turbine fans at the top, which turned out to be challenging for me. I extruded a tapered tube and created a shell of the shape by selecting all three faces. Then I used a three-point arc slot to create cutouts on the top. I made an offset plane at the bottom of the diffuser and sketched out the cutout shape. Similar steps were followed for the rest of the bottom part.
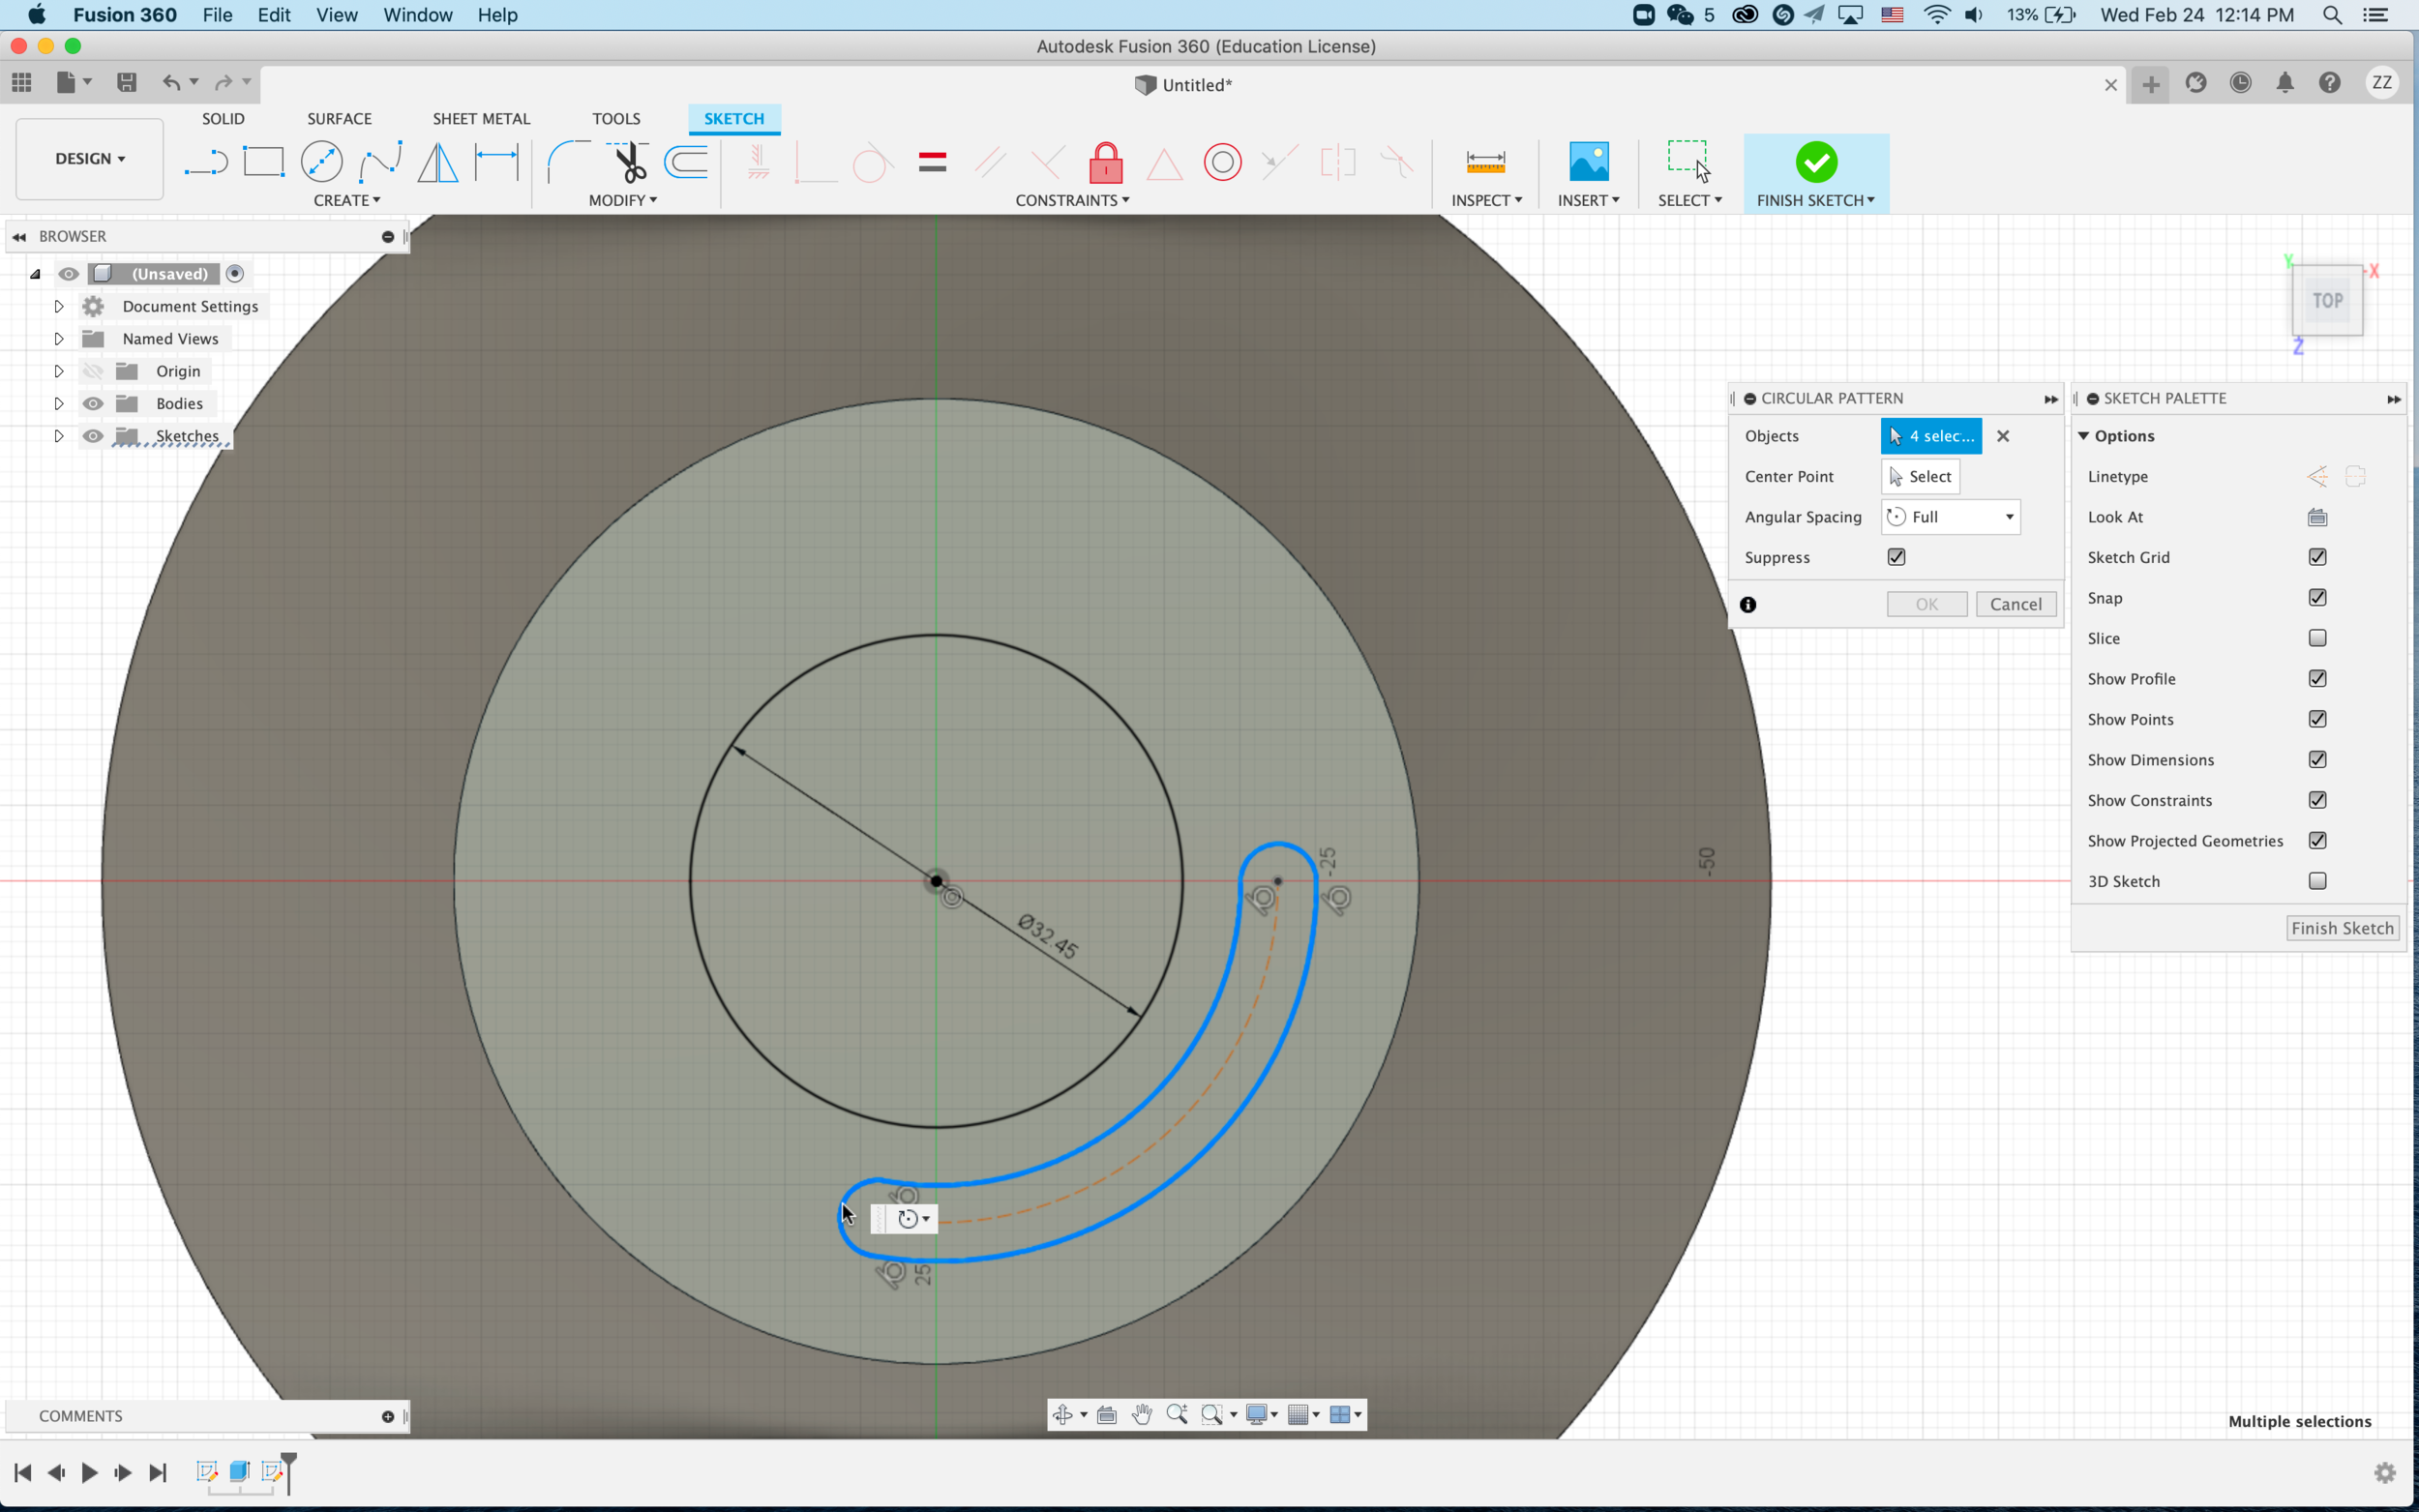
For the upper part, after creating the overall shape, I made two offset planes. I learned from a youtube video; I learned to use the coil tool to generate the turbine. I didn't fully understand some of the variables but made a shape after many tries. Then I used the circular pattern to duplicate the shape. Those turbine fans' angles are different from what I wanted, but I don't know how to modify them, and I want to know if there's another way of making them.
For the inner part, the challenging part was making the tripod shape rods. My solution was to draw a diagonal line and constrain it to anchor the middle line and always the same length. Then I created a plane on the path, so it's perpendicular to the line. I sketched a 2mm circle and used sweep to make the rod. I then used the circular pattern to duplicate the rest two.
The last step was the thin line cutout texture on the body. I created tangent planes on the body, sketched one narrow box, and extruded it to cut out the body, then used the circular pattern followed by a rectangular pattern.
The model isn't 100% from what I wanted, but I'm happy with what I've achieved. I would love to know where I've done right and wrong.


